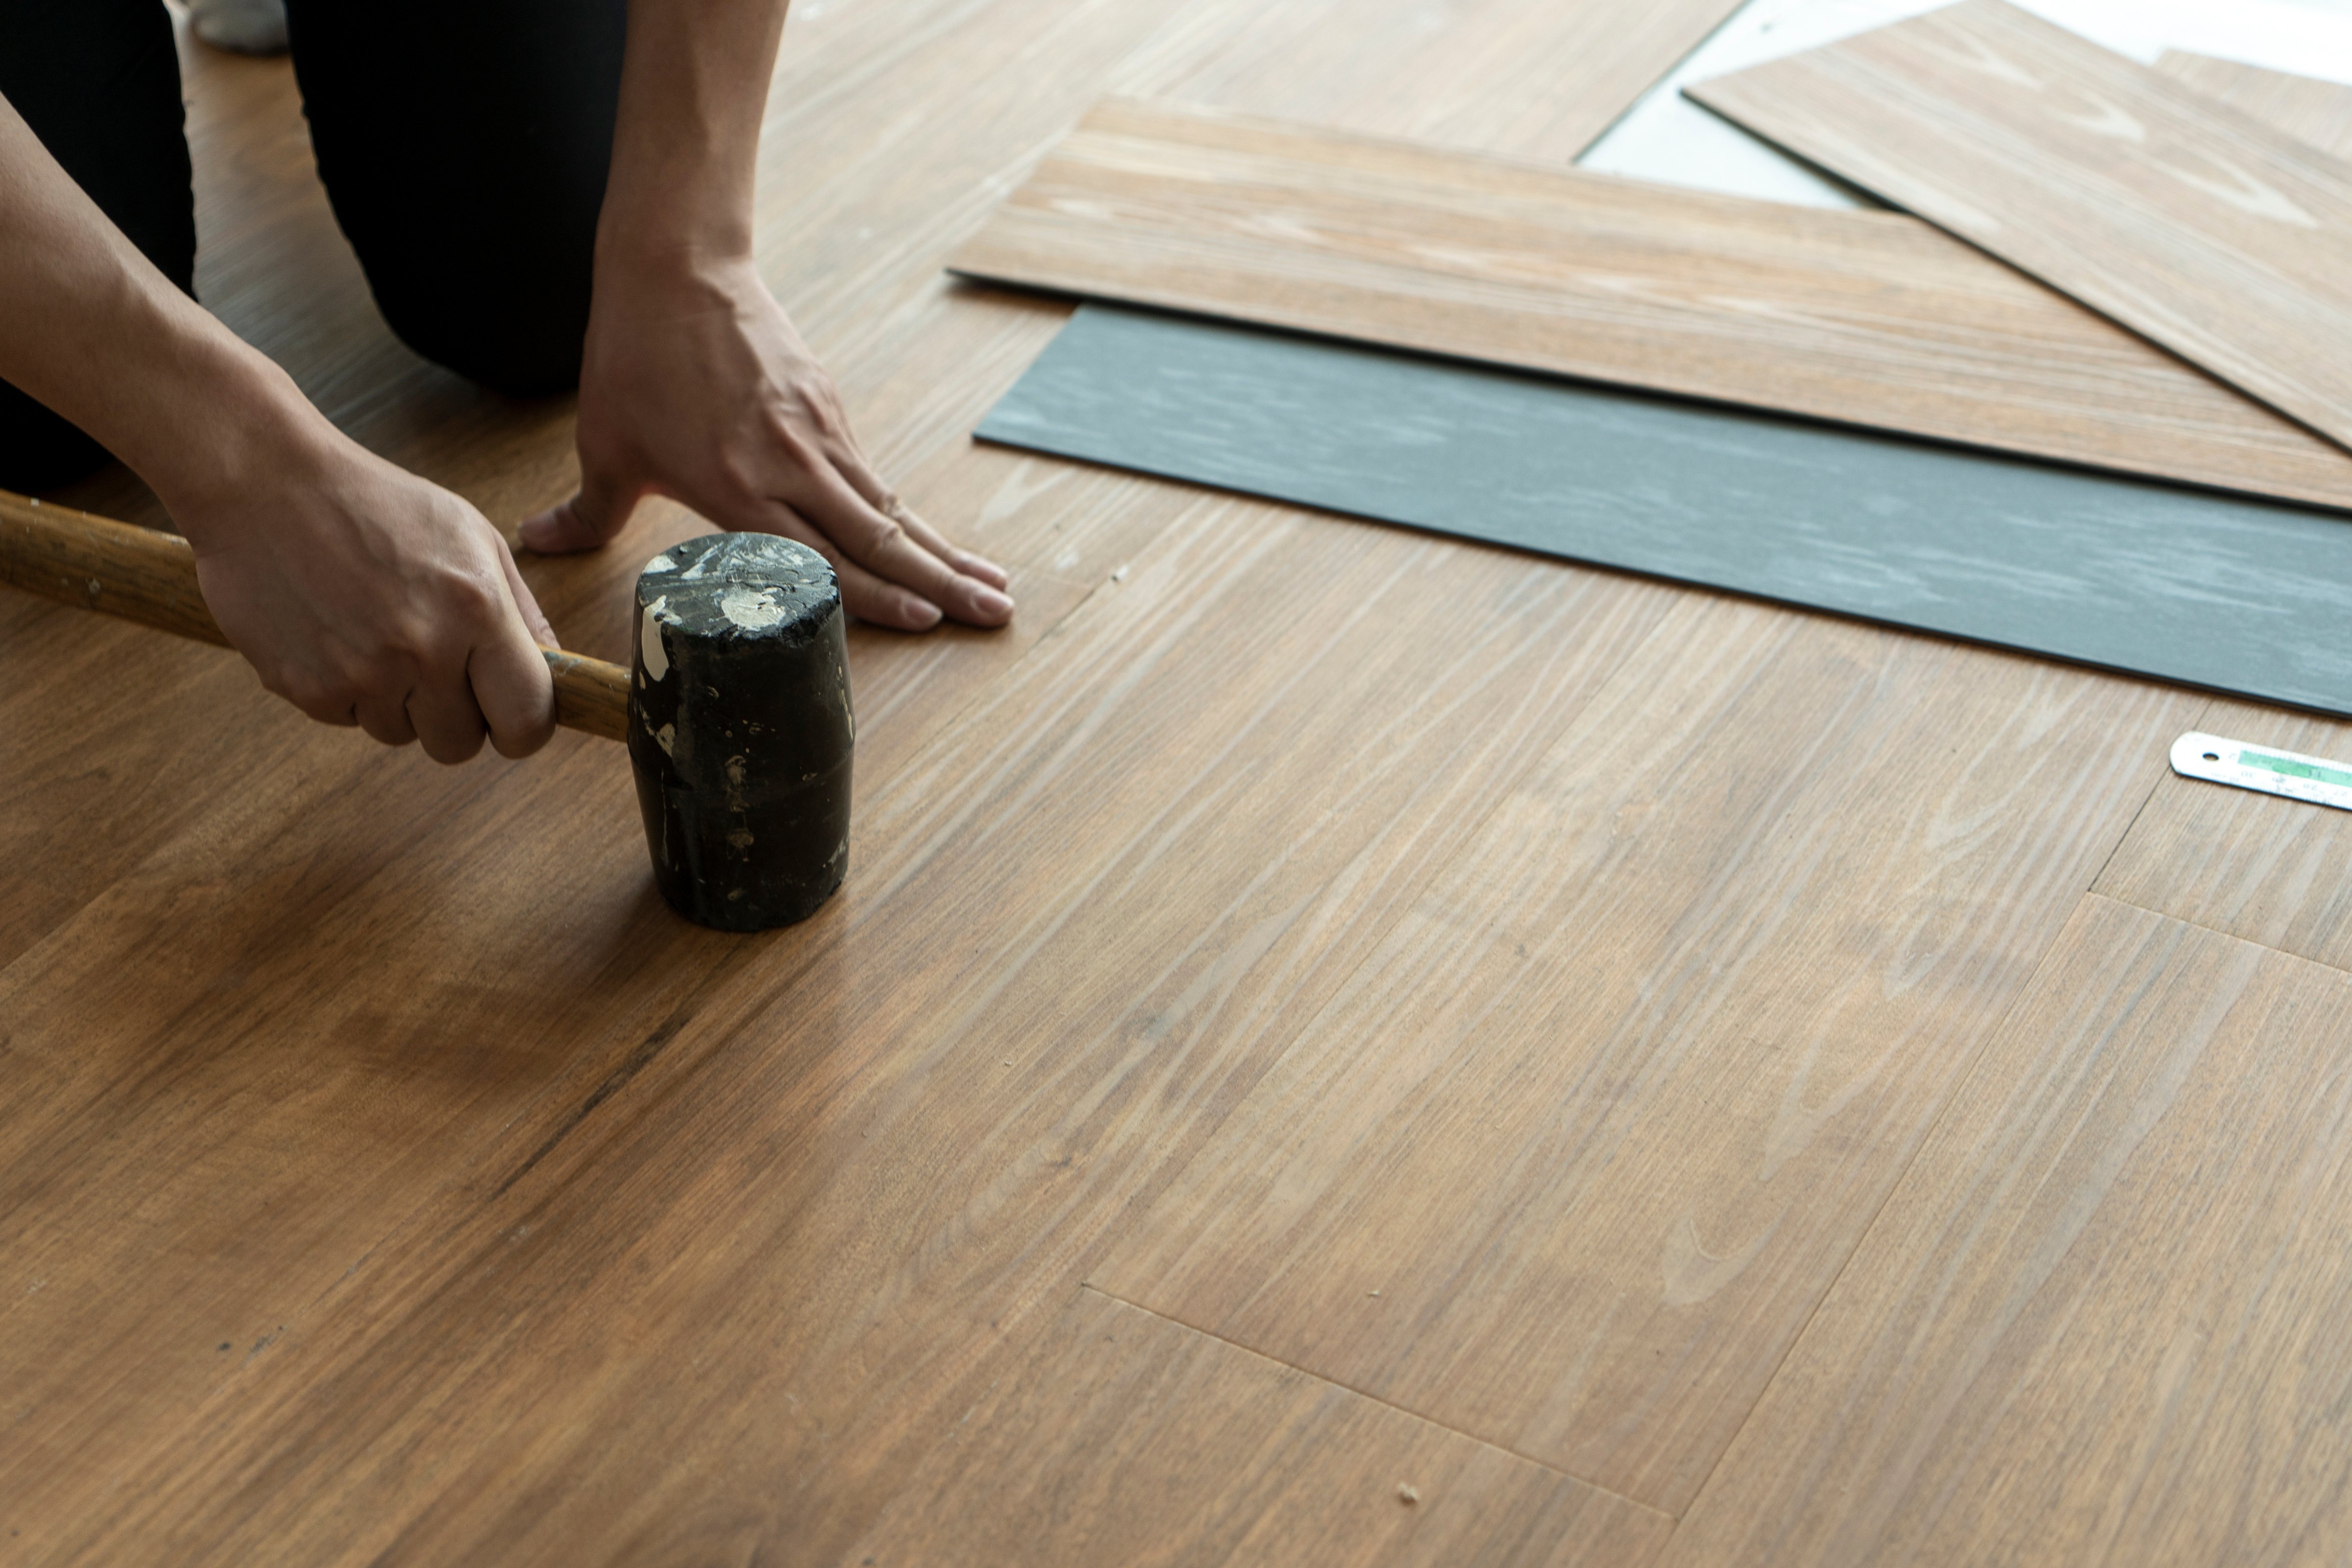
Step-by-Step Guide to Repairing Gaps Between Laminate Floorboards

Gaps between laminate flooring planks can be unsightly and may even affect the durability of your floor. Fortunately, repairing these gaps is a manageable task that you can often do yourself with the right tools and techniques. This guide will walk you through the steps to effectively fill those gaps and restore your floor’s seamless appearance.
Understanding Why Gaps Appear in Laminate Flooring
Before diving into repairs, it’s important to understand why gaps form between laminate floorboards. Common causes include changes in temperature and humidity causing expansion and contraction, improper installation with insufficient acclimatization, or natural wear over time. Identifying the cause helps you choose the best repair method and prevent future issues.
Gathering the Necessary Materials and Tools
To fill gaps between laminate planks effectively, you’ll need a few materials: wood filler or laminate flooring putty that matches your floor color, a putty knife or plastic scraper, fine-grit sandpaper for smoothing filled areas, clean cloths for wiping excess filler, and optionally color markers or crayons designed for laminate floors for touch-ups. Having these on hand before starting makes the process smoother.
Preparing Your Laminate Flooring Surface
Start by cleaning the affected area thoroughly to remove dirt, dust, and debris from between planks using a vacuum or soft brush. Ensure the floor is completely dry before applying filler because moisture can interfere with adhesion. If any loose pieces of laminate are present around the gap edges, carefully remove them to create a stable surface for repair.
Applying Filler to Close Gaps Between Planks
Using your putty knife or scraper, apply wood filler into each gap slowly and evenly. Push it deep into spaces ensuring complete coverage but avoid overfilling as excess filler can be difficult to clean up later. Smooth out any bumps immediately while filler is still wet so it blends seamlessly with surrounding planks. Allow adequate drying time as recommended by product instructions—usually several hours.
Finishing Touches: Sanding and Color Matching
Once dried completely, lightly sand filled areas with fine-grit sandpaper until smooth to touch but take care not to damage surrounding plank surfaces. If needed, use color markers or crayons specifically made for laminate floors to blend repaired sections perfectly with existing flooring tones. Finally wipe away any dust residue using a damp cloth for a polished finish that looks like new.
Repairing gaps between laminate flooring planks doesn’t have to be daunting when following these straightforward steps carefully. Regular inspection combined with proper acclimatization during installation helps minimize future problems too. With patience and attention-to-detail during repairs you’ll keep your floors looking beautiful while extending their lifespan.
This text was generated using a large language model, and select text has been reviewed and moderated for purposes such as readability.


